Proper surface preparation is crucial for a flawless application, and our detailed guide will walk you through each step, from smoothing out imperfections to selecting the right tools. Once applied, maintaining microcement is straightforward with the right cleaning products and techniques, ensuring longevity and beauty. Explore inspiring design ideas that showcase the adaptability of microcement in various rooms, and discover how it can enhance your interior style with its sleek, contemporary appeal.
Choosing the Right Microcement Finish for Each Room
When it comes to achieving a seamless look with microcement, selecting the right finish for each room is crucial. Different types of microcement finishes are available, and each has its unique properties and best applications. Here's how to make the right choice based on the room's function: - Matte Finish: Ideal for bathrooms where a non-slip surface is essential. The matte finish provides a subtle, elegant look while ensuring safety in wet conditions. - Glossy Finish: Perfect for kitchens where a sleek, modern appearance is desired. The glossy finish is not only visually appealing but also easy to clean, making it practical for high-use areas. - Satin Finish: A versatile option that works well in living rooms and bedrooms. It offers a balanced sheen that adds a touch of sophistication without being too reflective. To help you decide, here's a comparison of different finishes and their properties:
|
Finish Type |
Best For |
Properties |
|
Matte |
Bathrooms |
Non-slip, subtle look, safe for wet areas |
|
Glossy |
Kitchens |
Sleek, modern, easy to clean |
|
Satin |
Living Rooms, Bedrooms |
Balanced sheen, sophisticated appearance |
Choosing the right microcement finish can transform the look and feel of any room. By considering the function and aesthetic you desire, you can create a space that is both beautiful and practical.
Preparing Surfaces for Microcement Application
When it comes to achieving a flawless finish with microcement, the first and most crucial step is preparing the surfaces. A clean, smooth surface is non-negotiable. Start by thoroughly cleaning the area to remove any dust, grease, or loose particles. This ensures that the microcement adheres properly and lasts longer. Use a vacuum cleaner for dust and a degreaser for oily spots. Next, you'll need the right tools and materials. A good quality primer, trowels, sandpaper, and a mixing bucket are essential. If you encounter cracks or uneven surfaces, don't panic. Fill the cracks with a suitable filler and sand down any bumps to create an even base. This step is vital for preventing future issues and ensuring a seamless look. Remember, the devil is in the details. Proper surface preparation can make or break your microcement project. So, take your time and get it right. Your efforts will pay off with a stunning, durable finish that transforms any room.
Step-by-Step Guide to Applying Microcement
Applying microcement can seem daunting, but breaking it down into clear, manageable steps makes it much more approachable. First, ensure you have all the necessary tools and materials: a trowel, mixer, primer, microcement mix, and sealant. Start by preparing the surface, making sure it's clean, dry, and free of any debris. Apply the primer to create a strong bond between the surface and the microcement.
Once the primer is dry, mix the microcement according to the manufacturer's instructions. Apply the first coat using a trowel, spreading it evenly to achieve a smooth finish. Allow it to dry completely before applying the second coat. Experts advise waiting at least 24 hours between coats to ensure optimal drying. After the final coat is dry, apply a sealant to protect the surface and enhance its durability. Avoid common mistakes like rushing the drying process or applying too thick a layer, as these can lead to cracks and an uneven finish.
For a truly seamless look, pay attention to the details. Use fine sandpaper to smooth out any imperfections between coats and ensure each layer is evenly applied. Following these steps meticulously will help you achieve a professional, polished finish. Remember, patience and precision are key to mastering the art of microcement application.
Maintaining and Cleaning Microcement Surfaces
When it comes to maintaining microcement surfaces, the key is to adopt a regular cleaning routine that preserves its seamless look and durability. Microcement is known for its resilience, but it still requires some care to keep it looking pristine. Use a soft cloth or a microfibre mop for daily cleaning. Avoid abrasive materials that could scratch the surface. For a deeper clean, a pH-neutral cleaner is your best friend. Harsh chemicals can damage the finish, so steer clear of anything too acidic or alkaline. Dealing with stains and scratches on microcement can be a bit tricky, but it's manageable with the right approach. For minor stains, a mixture of warm water and mild soap usually does the trick. If you encounter a more stubborn stain, a bit of baking soda on a damp cloth can help lift it without causing damage. Scratches, on the other hand, might require a bit more attention. For superficial scratches, a fine-grit sandpaper can be used gently to buff them out. For deeper scratches, you might need to apply a fresh layer of microcement. Here's a handy table of do's and don'ts for microcement care:
|
Do's |
Don'ts |
|
Use a soft cloth or microfibre mop for daily cleaning |
Use abrasive materials or harsh chemicals |
|
Opt for pH-neutral cleaners |
Apply acidic or alkaline substances |
|
Address stains promptly with mild soap and water |
Ignore spills and stains |
|
Buff out minor scratches with fine-grit sandpaper |
Use heavy-duty sandpaper or tools |
By following these best practices, you can ensure that your microcement surfaces remain as stunning as the day they were installed.
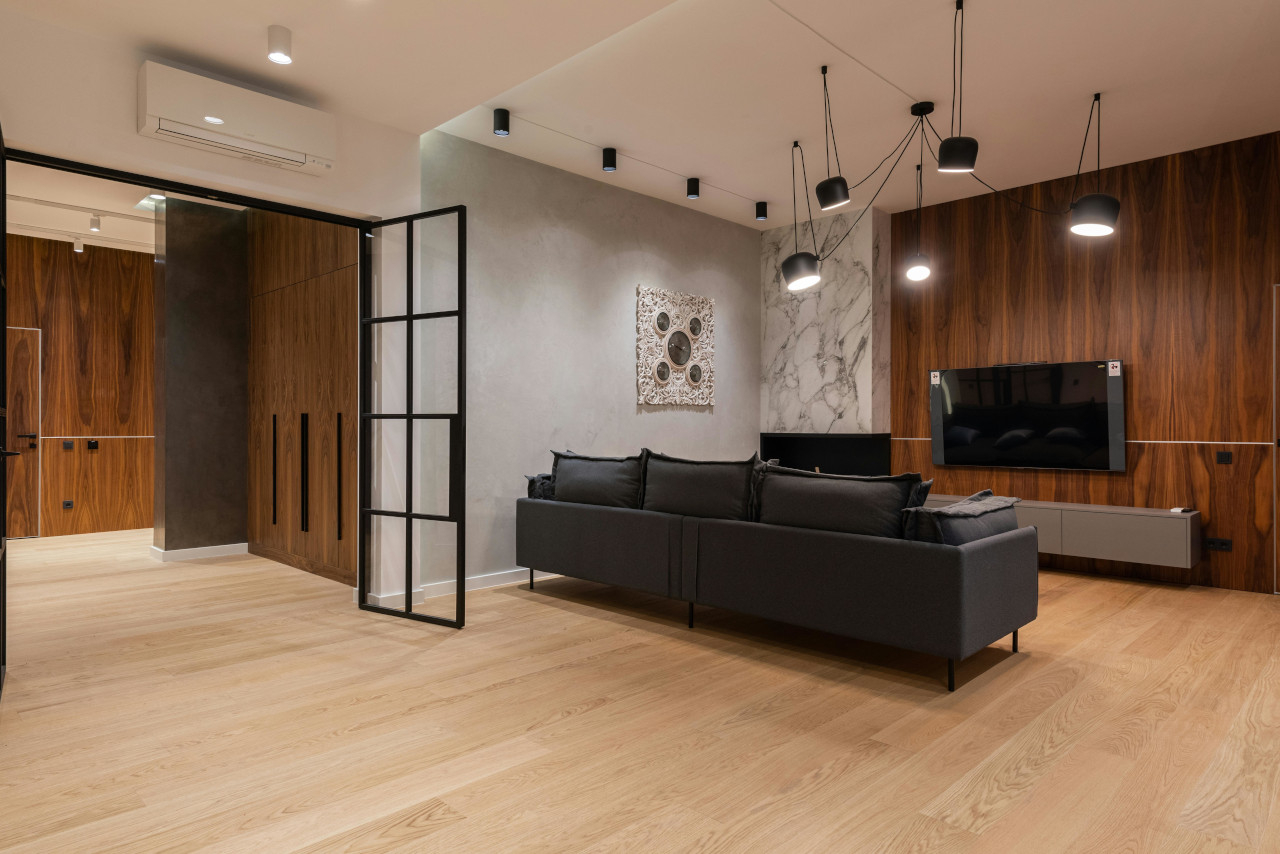
Inspiring Design Ideas Using Microcement in Different Rooms
Transform your home with these inspiring design ideas using microcement. Whether you're revamping your bathroom, kitchen, or living room, microcement offers a versatile and stylish solution. Let's dive into how you can achieve a seamless look in different rooms.
- Bathrooms: Imagine a bathroom where the walls, floors, and even the shower area are covered in sleek, modern microcement. This not only creates a luxurious spa-like atmosphere but also ensures durability and easy maintenance. Microcement can be paired with minimalist fixtures and natural elements like wood and stone to enhance the overall aesthetic.
- Kitchens: In the heart of the home, microcement can be used to create stunning countertops, backsplashes, and even flooring. Its seamless finish makes it perfect for modern and industrial-style kitchens. Pair it with stainless steel appliances and open shelving for a truly contemporary look.
- Living Rooms: Elevate your living space by incorporating microcement into feature walls or fireplaces. Its smooth texture and variety of colours can complement any interior style, from rustic to ultra-modern. Add some cosy furniture and statement lighting to complete the look.
Microcement is not just about aesthetics; it's about creating a cohesive and durable environment that stands the test of time. These examples show how microcement can be successfully integrated into different rooms, offering both beauty and functionality.